Time Format
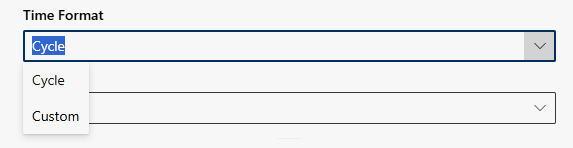
The time format is a setting option within Create report. The time frame for the data considered in the reports is defined here. Selecting the right time format makes it possible to precisely adjust the time dimension of the reports and ensure that the data presented reflects the desired time frame. This function offers two options: Cycle and Custom.
- Click in the field Time format and select either Cycle or User-defined.
Legend | Option / function | Description |
1 | Cycle |
|
2 | User-defined |
For a detailed description of the date and time input, see the Time input table later on this page. |
Time input
Legend | Option / function | Description |
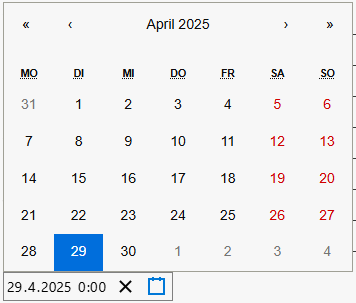
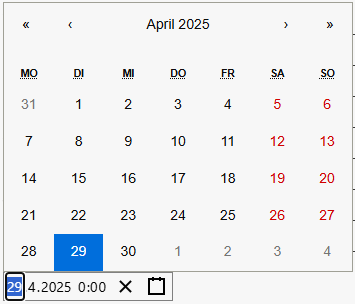
1 | Date | Date in the format DD.MM.YYYY
You can also enter the date using the calendar symbol. |
2 | Time | Time in the format HH:MM
|
3 | Reset | Date and time reset.
|
4 | Calendar | Date in the format DD.MM.YYYY
You can also enter the date using the date field. |
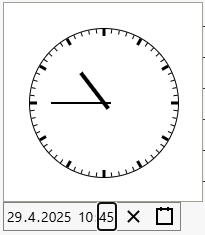
 symbol to reset the date and time.