Tab Case Management

123
Detail View Case Management
Description of the Case Management detail view

Legend

Option / Function

Description

1

Add/Remove to/from Case Management

Add or remove the recording to/from a Case by checking the boxes in the drop-down list.

NOTICE! Removing a conversation from a case may cause it to be irrevocably deleted if the original TTL has been exceeded and the conversation is not stored in at least one other folder/case.

  1. Open the drop-down list.
  2. Check or uncheck the boxes of the cases you want to add or remove to the recording.
  3. Click on the button Save to confirm the changes.


2

Actions

Further actions on the case incident can be performed:

  • Forward to: Assigns the Case to another reviewer or any person that has been deposited in the field Assignee.
  • Move to: Moves the incident to another Case.
  • History: Displays the case content history.


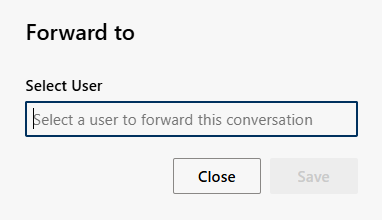
Forward to

Use the Forward to action to assign the conversation to another user for further review. The selected user becomes an additional reviewer for the recording. If a conversation is forwarded to a user and it has a status that requires action, it is also displayed in the recipient´s My Queue within a dedicated Forwarded folder. This ensures that forwarded conversations receive special attention and are not overlooked.
NOTICE! Users who should be available for the “Forward to” option must be defined under “Assigned to” in the case settings.

  1. Enter the name of the user to whom the Case should be forwarded.
  2. Click on Save to confirm the entry.
    Click on Close to discard the settings.


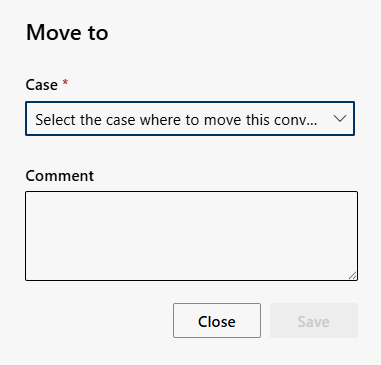
Move to

Move the incident to another Case, for example if it was assigned incorrectly or should be handled by another team. Optionally, add a comment explaining why the move is necessary. Reviewers as well as Assignees of a case can move content to another case. Reviewers as well as Assignees of a case can move content to another case.

  1. Click the drop-down list to select the Case to which you want to move the recording.
  2. Enter a comment if needed.
  3. Click on Save to confirm the entry.
    Click on Close to discard the settings.


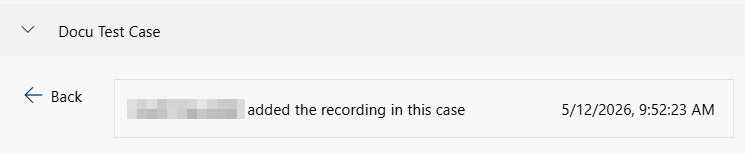
History

Open the case incident history to easily trace and understand all changes made to the case content.
NOTICE! Currently, a history is available only at the case-content level, not on case-level.

The history provides a complete trail of all actions performed on the case content, including:

  • Adding a recording to a Case.
  • Changing the Status.
  • Updating the Risk Rating.
  • Moving the content to another Case.
  • Forwarding the content to another reviewer.

  1. Click on Back to get back to view the Status and Risk Rating.


3

Case Details

Change Status or/and Risk Rating of the incident.

  • Status: View the current status of the incident and change it if needed.
  • Risk Rating: View the current risk rating and change it if needed.


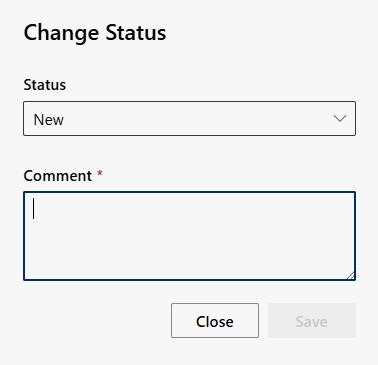
Change Status

Change the status of the recording and provide a mandatory comment to justify the change. Both, the change and the comment are documented in the case content history.

  1. Click on the button Change Status.
  2. Choose another status from the drop-down list.
  3. Enter a Comment why you changed the status.
  4. Click on Save to confirm the entry.
    Click on Close to discard the settings.


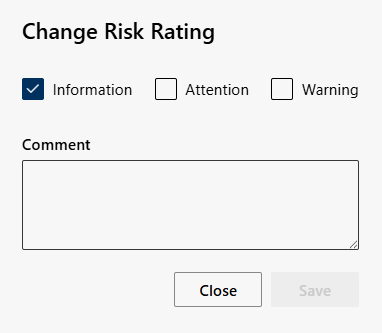
Change Risk Rating

Modify the risk rating of the recording. The changes are logged in the case content history.

  1. Click on the button Change Risk Rating.
  2. Select a different risk by checking the corresponding box.
  3. Enter a comment if needed.
  4. Click on Save to confirm the entry.
    Click on Close to discard the settings.